Conditioning your leather baseball glove.

A brief history of the modern day baseball glove.
Baseball has been played in our country since about the mid 1850’s and by 1856 it was already being referred to as our “national pastime” (video games weren’t invented yet). This early version of the game was being played with barehands and small brains, so we didn’t see the first version of baseball gloves on a field until about the year 1875, when the first confirmed use of a glove was documented when Charlie Waitt took the field for the St. Louis Brown Stockings, wearing a pair of flesh colored fingerless gloves that made him the targets of countless taunts and teasing from fans, opponents and teammates alike.
Fast forward to sometime around 1920 when baseball gloves become as normal as beer and peanuts at the ballpark and a pitcher in a St. Louis Cardinal uniform by the name of Bill Doak would make his biggest contribution to the game of baseball- A new baseball glove design that places a net or web in between the first finger and the thumb of the glove. Bill then goes on to sell this design to the relatively small company that provided the St. Louis Cardinals with their baseball gloves- Rawlings, which went on to become a giant in the industry partly because of the success of Bill’s design. So, the next time you’re out having a catch and you experience of the perfect placement of a whizzing fastball into the pocket of your perfectly broken in baseball glove, you can thank Bill Doak. If your perfectly broken in baseball glove is looking a little dull, read ahead……

Keeping your glove “opening day ready”.
As long as your glove is made of quality leather, it’s pretty easy to keep it in ”opening day ready” shape. The rules are pretty simple….. Keep the glove out of severe weather, keep it stored in a cool dry place over the offseason, and keep it as clean as possible. Finally, condition your glove’s leather with a high quality leather conditioning product from time to time. Even those of us who have neglected our gloves through the years, I have found that with this process, it’s quite easy to resurrect an old, beat up leather baseball glove back to life.
The glove conditioning product we are going to use for this process is called “Pecard Glove Conditioner”. Pecard is a company out of Green Bay Wisconsin, and they have an entire line of leather care products, including a special formula made especially for baseball gloves. That product is a mix of safe and gentle petroleum and waxes, including beeswax. To make sure we are using their product correctly, I reached out directly to Pecard for some guidance. Reanna and Phil from their team were kind enough to share some tips on using their glove conditioner. The process I’ve laid out here is based off of our email exchange, and I must say, I was very happy with the results, so I thought I would share. Also, by the way, this is not a paid advertisement. This is simply a tutorial using the Pecard product. There are other great leather care products out there, many of them used in a very similar way. If you have a glove conditioning product you would like to share with us, please do in the comments.
How to condition a baseball glove.
Start with a clean glove. Doesn’t need to be 100% dirt free (most gloves aren’t), just remove any surface dirt you can with a brush or rag. If you feel the need, you can use a combo of mild dish soap and water to do a wipe down of the glove, but don’t use too much water. If you do this wipe down, wait at least 24 hours for the next steps, since we want to use the conditioner on dry leather. If you do feel the need for a deeper clean, you may have to look into some deep cleaning leather products, but that is going to be the topic of another blog post at some point.
Untie any knots on the glove, so you can get as much access to as much leather as possible.
Using a clean cloth, take tiny “dots” of glove conditioner and apply them to small sections of the baseball glove.
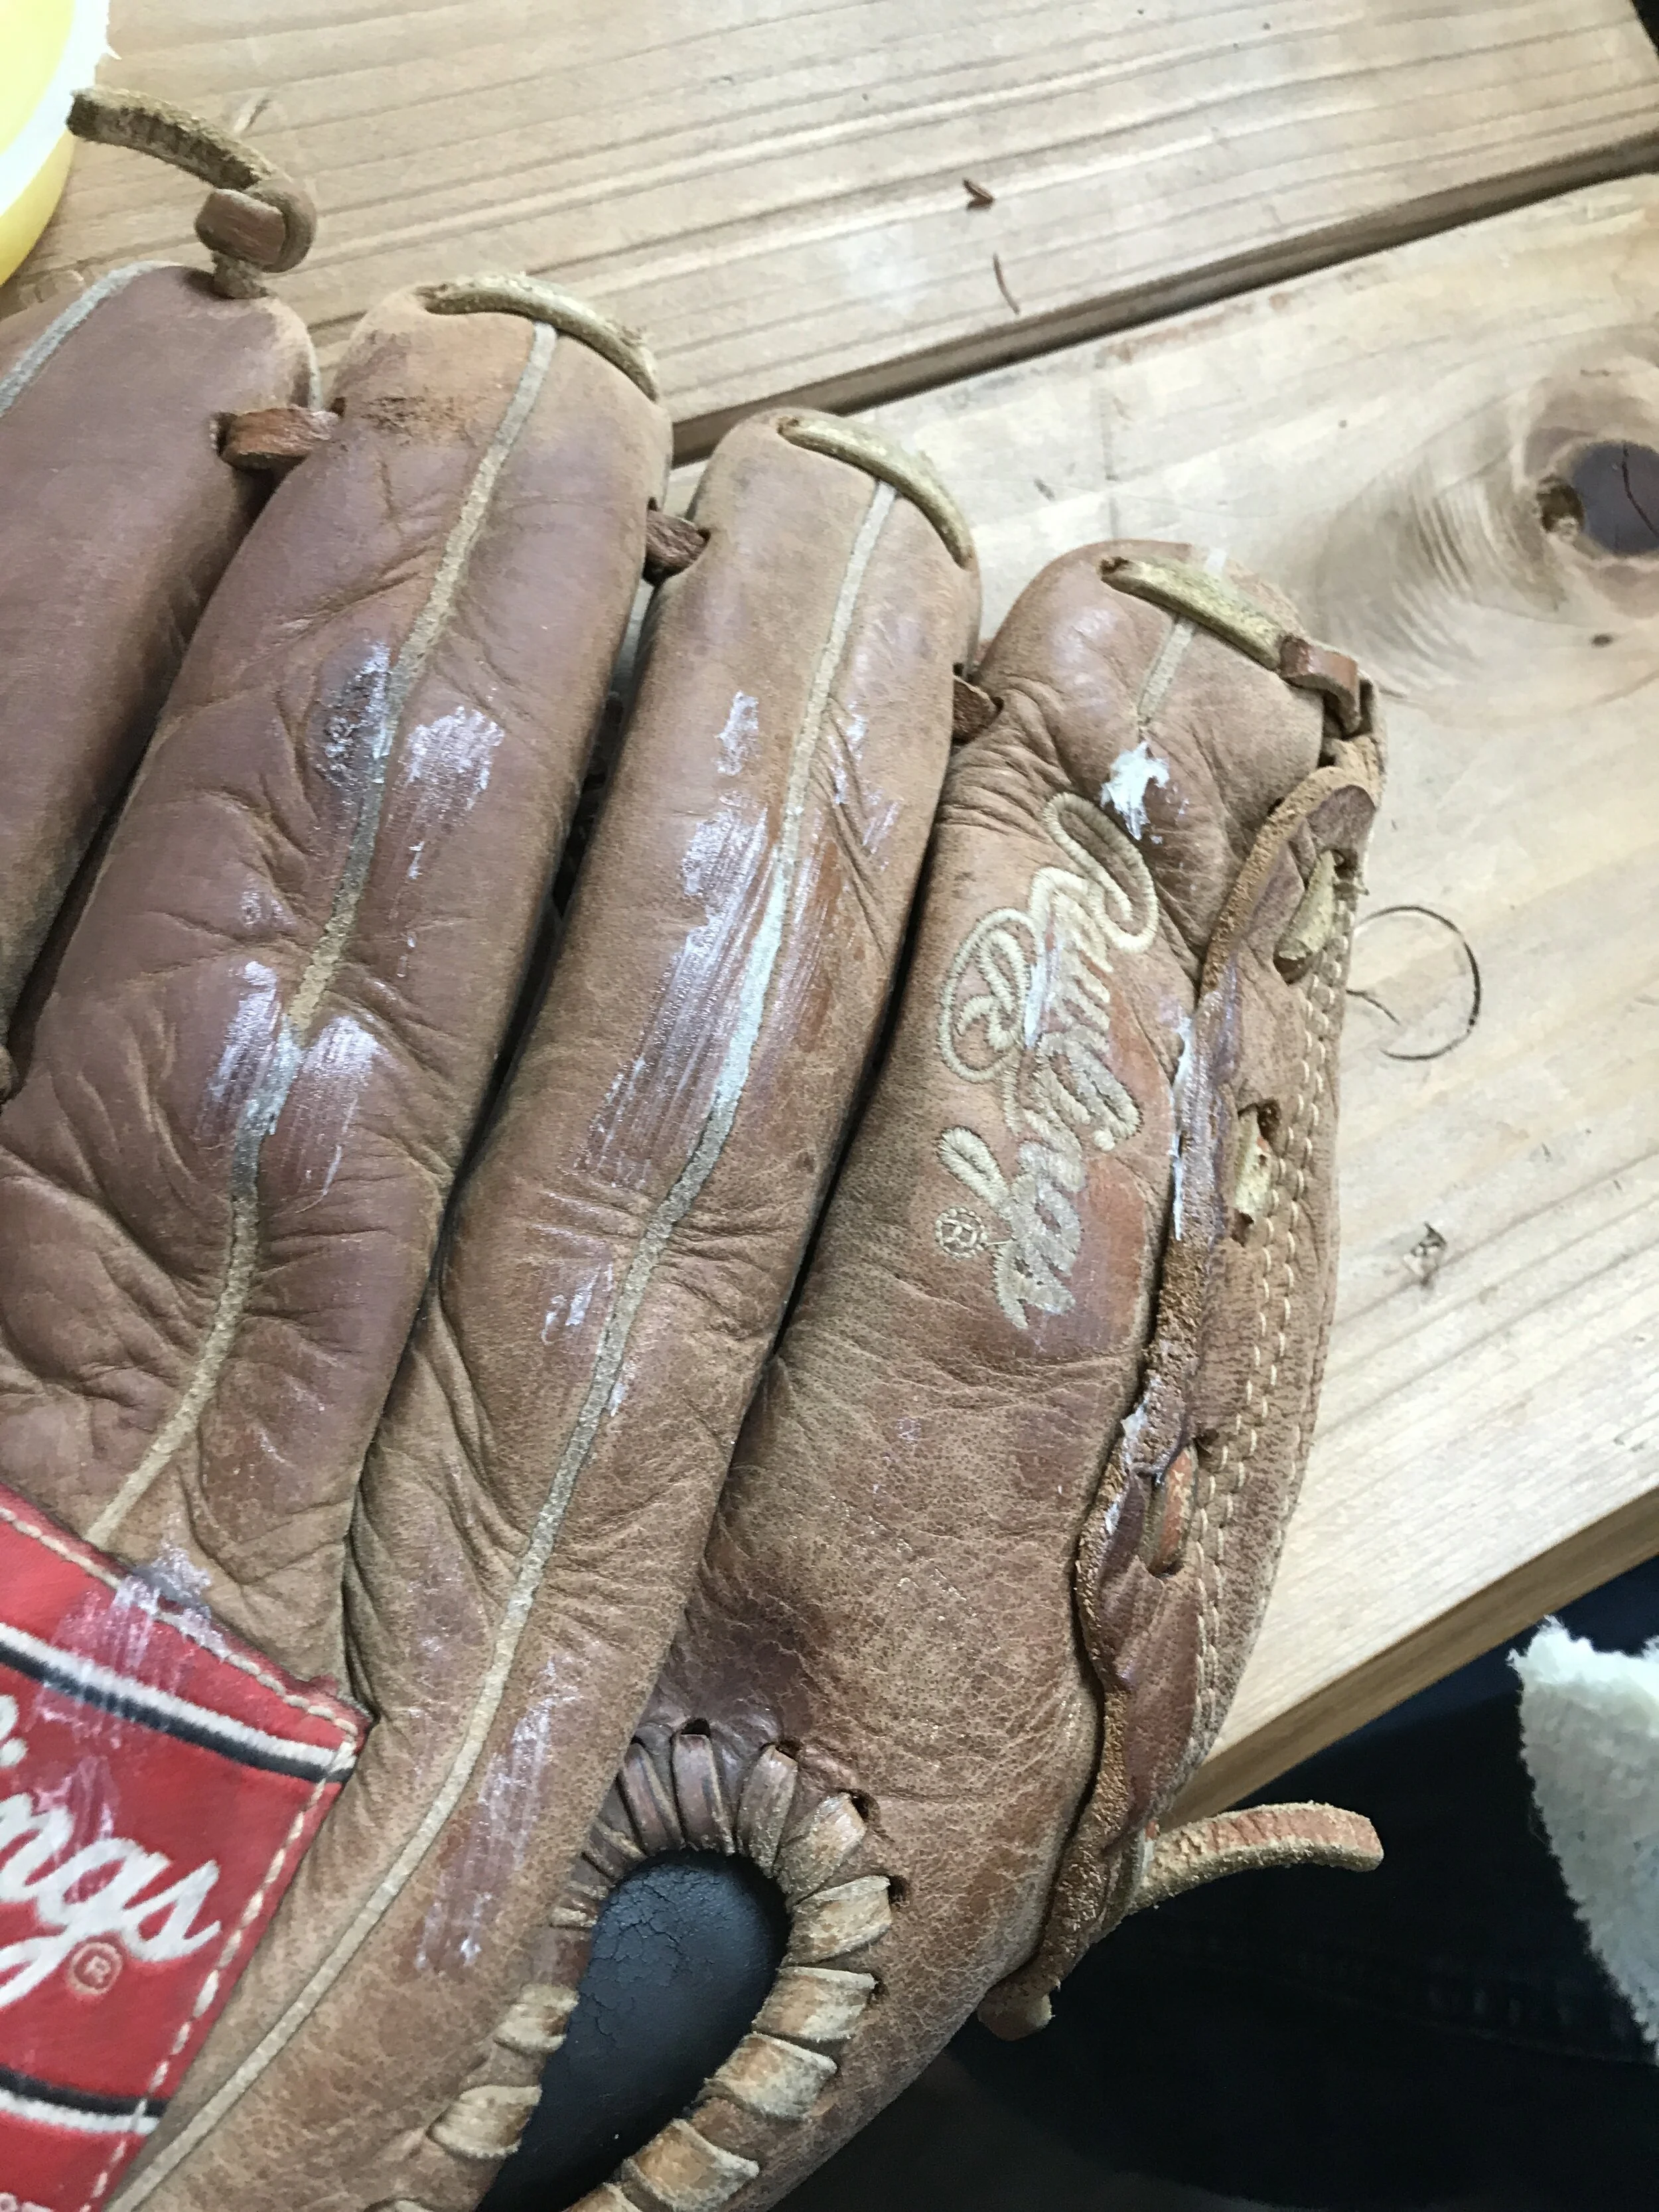
Try to avoid the fabric tag!!! Whoops!!!
Wipe, smear and buff the tiny amounts of conditioner with the clean dry cloth. Work each area of the glove for about 3-5 minutes. Aim for uniformity and evenness. The glove should have a uniform color and feel once you’re done. The key is uniformity and small amounts. You don’t want to over condition the glove. A small amount goes a long way, plus if you feel that you need to add conditioner, its easy to apply more. The last thing you want to end up with is a weighted down, oily glove.
It should take roughly 15-20 minutes total to condition your entire glove.

buff small amounts as even as possible to create a uniform look
Ideally, let the glove sit overnight before use.
If you can, condition your glove 2-3 times per year, depending on use. Quite honestly, most of us will only do this process one every year or two, and that’s ok too.
Once your done, you will have a soft, flexible and healthy looking piece of leather to flash at your next game.
Remember the key to this is using a small amount of conditioner.
